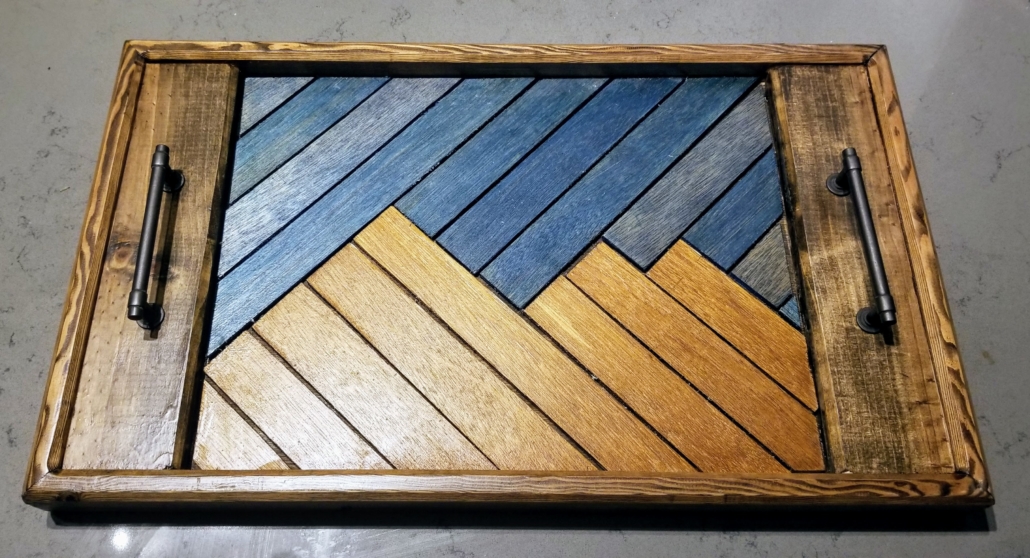
This year for the holidays Ragon had an idea to give out some trays to friends and family. Due to the COVID pandemic we can’t visit with people in person, but she thought it would be nice to leave a tray with some goodies on people’s doorsteps, which I thought was a great idea. While she got some nice jars of jellies and baked goods, I went to work creating the actual trays. The construction was very simple. Just a piece of plywood for the bottoms and some 1×2’s for the framing.
Step 1:
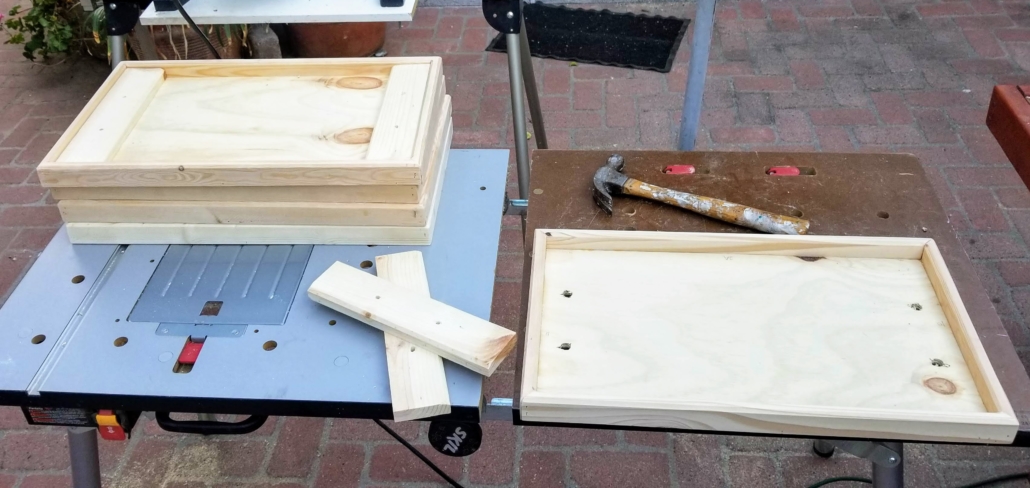
The first thing I did was to cut the bases. These were cut from 11/32″ sanded birch plywood sheets. I bought a 2’x4′ sheet which was perfect. I cut out some rectangles that were 19″ x 24″. The size is rather arbitrary, but I based it on the size of a plastic serving tray we have.
Step 2:
I cut out a frame that would fit around the bases from 1″ x 2″ strips. The decided to go with mitered 45-degree corners to make it look nice. This step took the most time since I had to make sure they fit perfectly (or as close as I could get to perfect) around the plywood bases. I also cut out some pieces that will sit on the sides of the trays that the handles will be attached to. These were just 1″ x 4″.
At this point I also pre-drilled some holes for the 4″ handles I wanted to use. I made the holes through the plywood bigger so the screw head would fit, and then I drilled smaller holes into the side thingys.
Step 3:
I sanded everything really well and decided to rout the edges with a nice angled edge to make everything look a bit more seamless. I use my little router table that I had made previously, and it made this task super easy. I glued everything all together and also used my air-nail-gun for extra support.
Step 4:
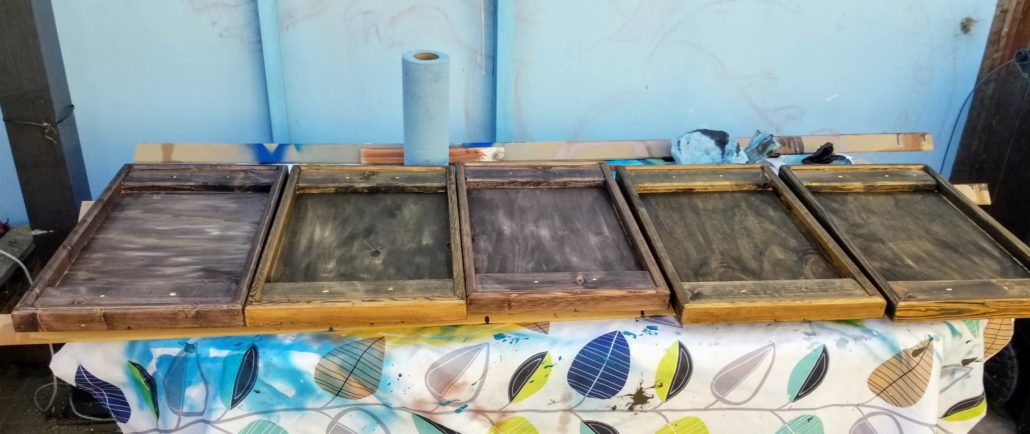
Now for the worst part: staining!
In all my projects this is where I always mess things up. I used some leftover oil-based stain I had (espresso color) and started smearing it all on with a bunched up rag. It went on easily enough, but as usual, I’m not too pleased with how it came out. So halfway through I went with Jacobean, which did come out lighter but still too dark in my opinion. Anyway, I think I should have gone lighter, but I also wanted the colors on the designs to pop.
Step 5:
The fun past was next – coming up with the designs. If I had more time, I would have done different designs for each tray. But since these are being gifted to people who will most likely never see each other, I figured it was ok to limit it to two easy designs.
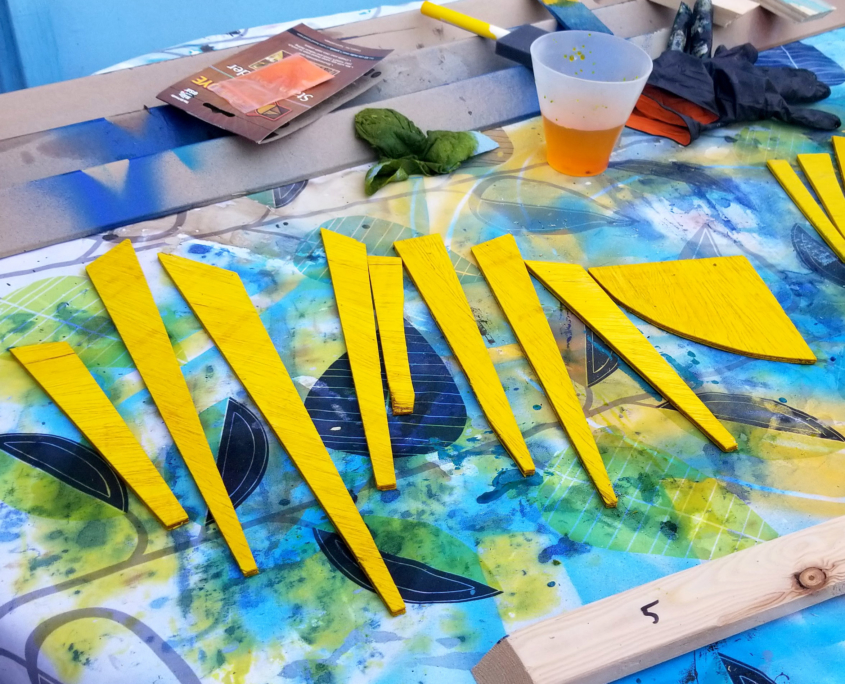
To create the designs, I cut out a piece of 1/4″ sanded birch plywood so that it would fit inside the tray, like an insert. Then in pencil I drew the designs on the insert and cut them out. I experimented with using the jigsaw and the miter saw. The miter saw was super fast for doing the long straight lines, but it also left a much wider gap between the pieces than the jigsaw. On the other hand, the jigsaw was great for curves, but I can’t but a straight line with a jigsaw to save my life.
All in all, I think they came out all right.
Step 6:
More stain, UGH!! This time I used some fun water-based stain powder. It’s super easy to use – just dissolve a small bit in water and brush it on. I loved the colors – especially the yellow – it really just pops.
(And yes, I use an old shower curtain to stain on!)
Step 7:
Almost done! I glued all the little pieces down and let it dry overnight.
Step 8:
Next up is a coat of varnish. I used some oil-based semi-gloss stuff.
Step 9:
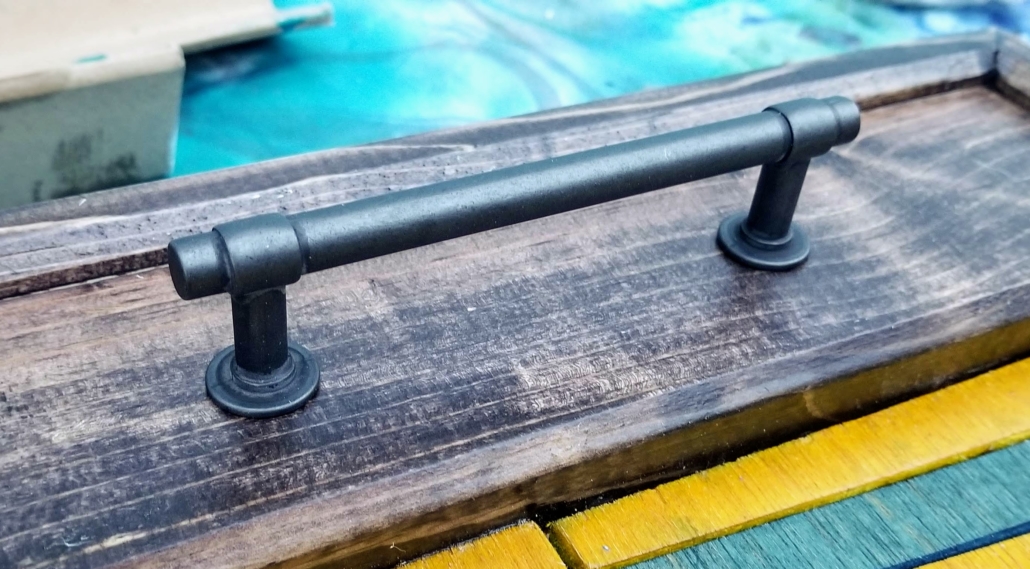
The last step was to attach the handles. I got a 10-pack of these online. They are just standard drawer-pulls that screw in from the bottom.


