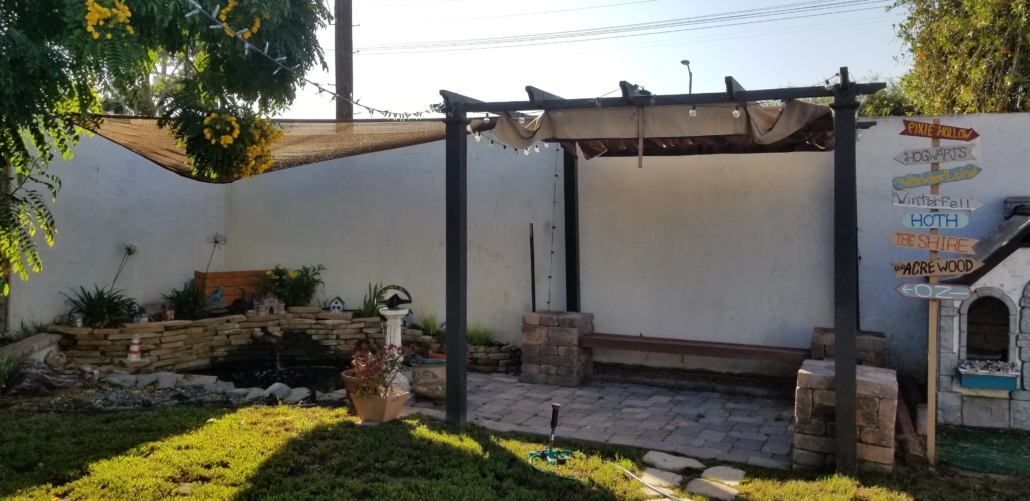
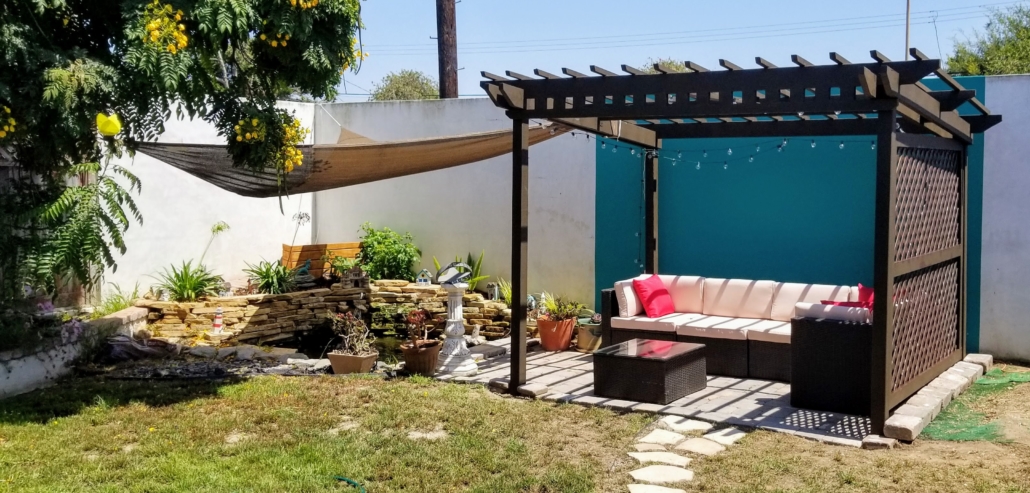
A few years ago I built a pond in our little backyard. Got some goldfish and a friend gave me a little, homeless turtle named Felix. Then for a while I was between jobs and had time to kill so I build a little patio out of Rumblestone pavers next to the pond. I also made some benches made from horizontal 4×4’s and bought a little gazebo kit for shade.
It was a nice setup, but the benches were totally uncomfortable and my family and I never used them. And the fabric covering on the gazebo-thingy had rips in it that grew worse each year until it was just scary looking. My goal was to create a nice, relaxing spot to read in or watch the fish swim around doing whatever it is fish do. But I failed, and in the end the whole thing was just a big waste of space.
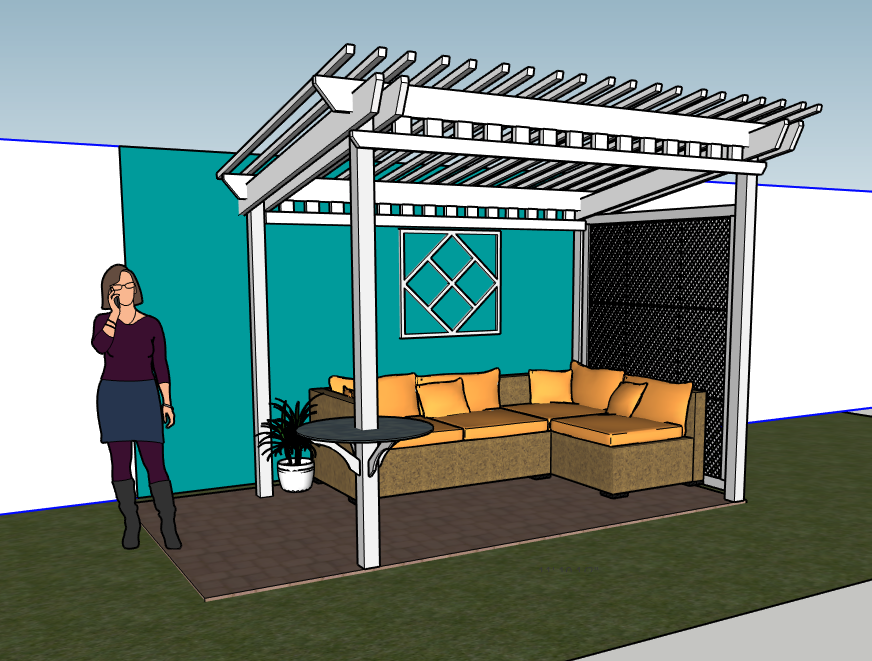
Undeterred, I decided to try something new. So I hopped on the computer and using Google SketchUp, I came up with a new gazebo that would sit over a new, outdoor couch. I also decided to paint the wall something nicer than the dirty white it was now. I like the new design. It didn’t seem to difficult to put together, it wouldn’t be too expensive, and it would hopefully make the space more useful.
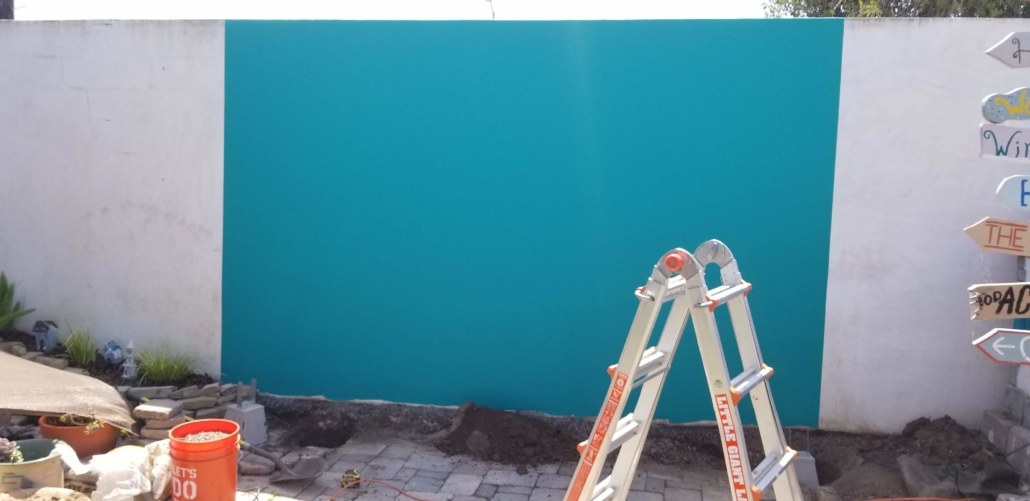
Step 1: Paint the wall
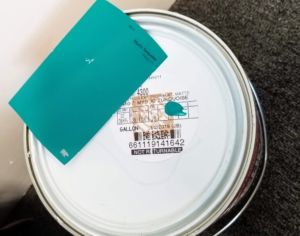
I figured it was easiest to paint the wall before I started building anything. I saw this color and I really liked it. It’s called Mystic Turquoise. It felt dark and safe.
Step 2: Footings
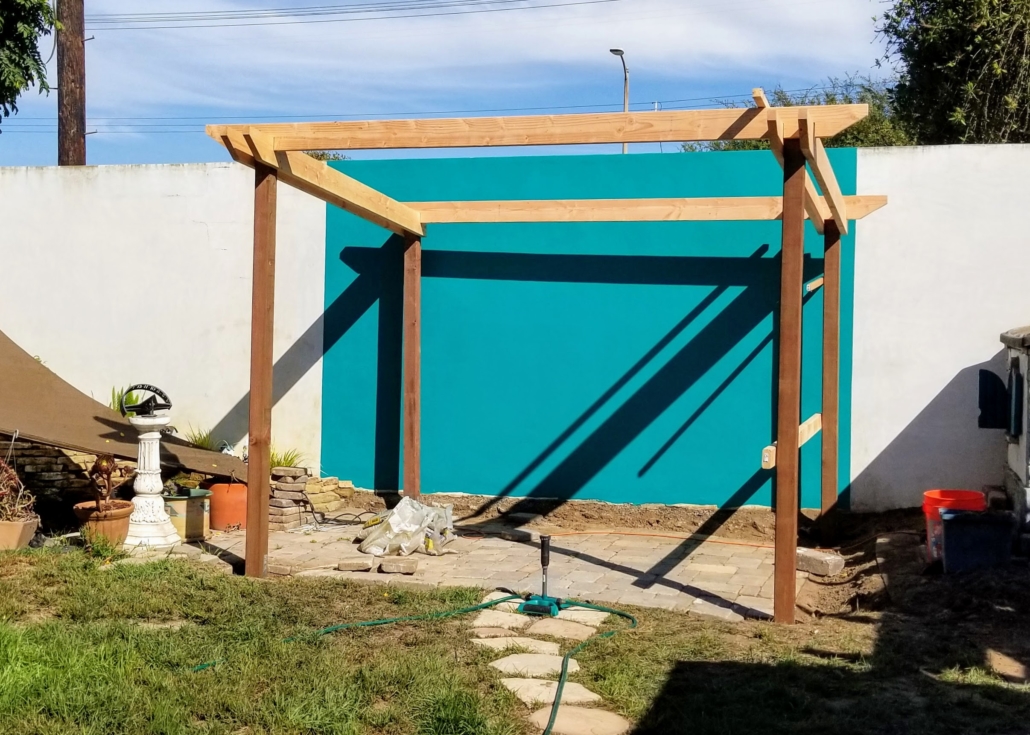
The first thing to do was to dig some foundations. Since this was a relatively light structure, I didn’t feel the need to pour concrete. In hindsight, I probably should have, as over time the foundations have slid to the side a bit. But I ended up just using large, pre-cast concrete footings that I got from Home Depot. I leveled them off on some gravel and tried to space them so the layout covered the area I wanted.
Step 3: Build!
I never really have plans for these things. I used the Google SketchUp drawing as a rough guide, but in terms of measurements I just kind of feel it out as I go.
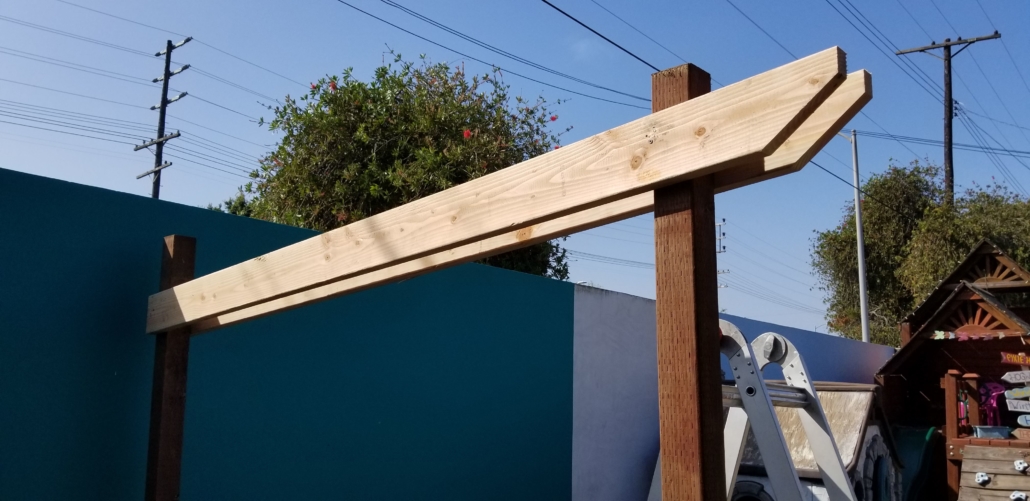
I planted the 4×4 posts into the foundations and secured them with some outdoor screws. Then I made sure they were plumb and attached the crossbeams. I decided to put them up at an angle against the wall to make it seem more inviting.
Step 4: Adding Details
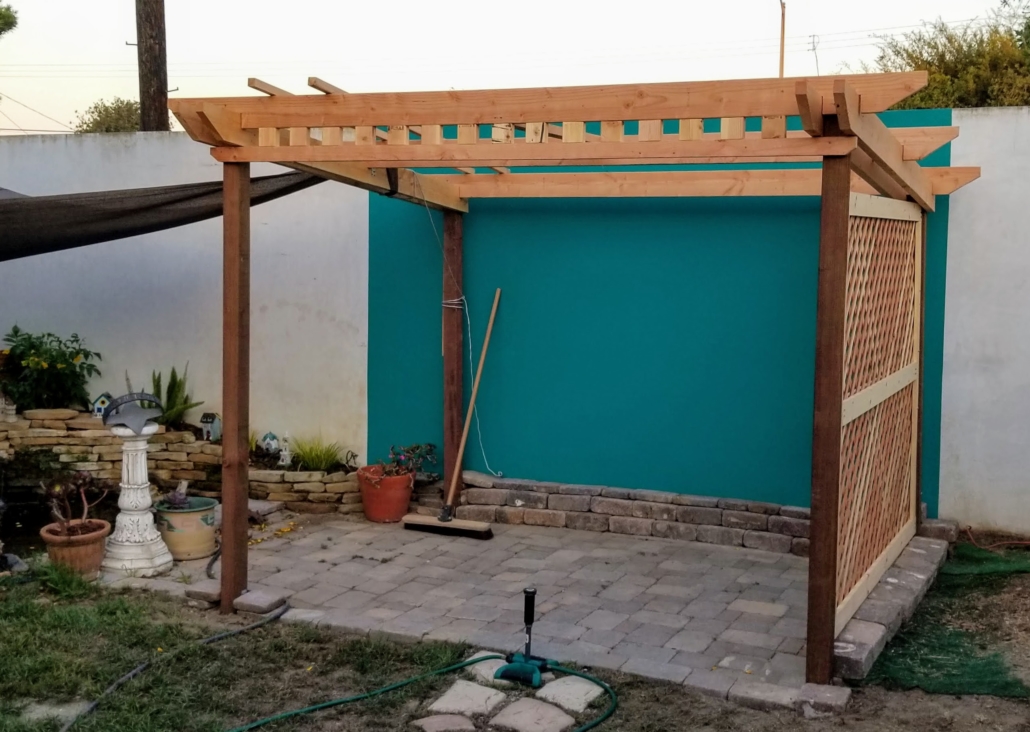
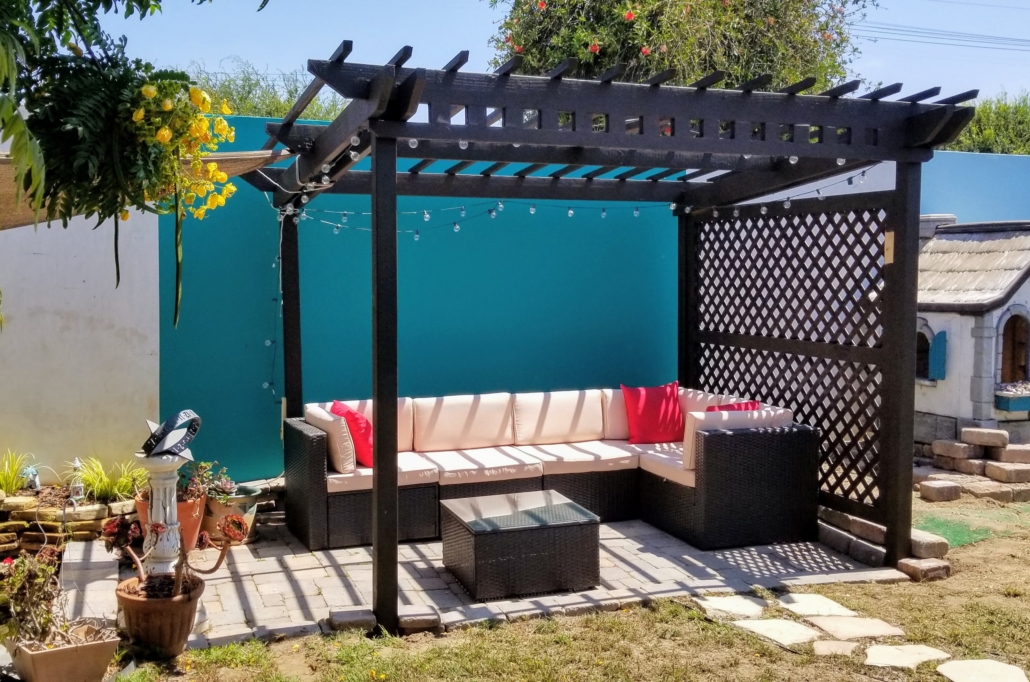
On the side opposite the pond, I put up a privacy lattice to make the space seem more secluded and cozy. I attached it with some pilot holes I made at each of the contact points.
The front seemed kind of plain, so I added a little beam just below it with some 2 x 4’s above it. This doesn’t add any structural support but I think it looks cool.
Step 5: Finishing touches and paint
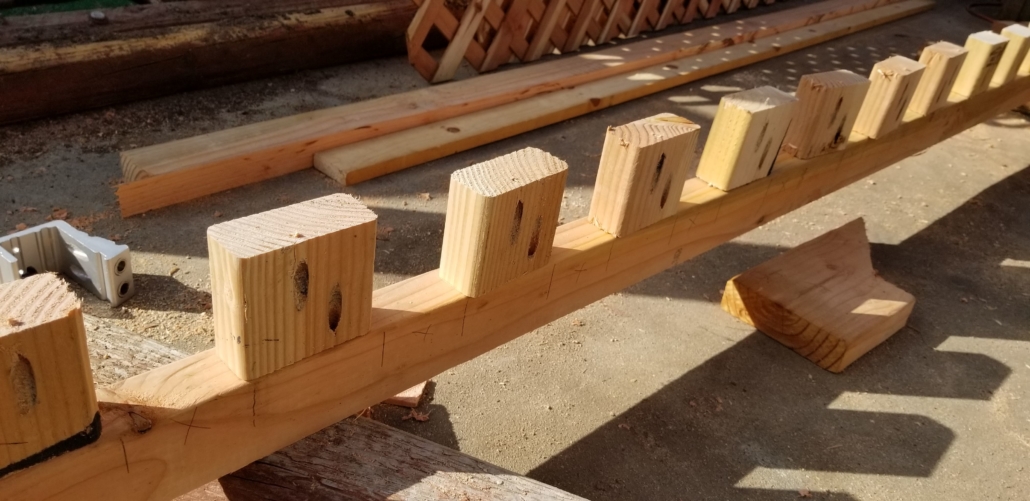
The only thing left to do at this point was to add the little stringers across the top, and then paint the whole thing. I was planning to paint it white, but in the store I had a sudden change of heart and went with a color called ‘Espresso Beans’. I actually think the darker color looks better.
The couch came from an online store and is modular so I could make it into different shapes. They even threw in a little glass coffee table!
I’m pleased with how it came out, and it was really a fun project to put together.
The keen observer might notice there is a patch of paint missing near the top right corner of this picture! While I was building this, I came out one morning to find some sneaky little caterpillar has constructed a chrysalis right there on the post. So I painted most of it, but I had to leave that spot bare until the butterfly hatched and flew away!

